There is a tank car on my workbench which seemed to have taken up permanent residence in a partially finished state until just recently. I would pull it out, fiddle, ponder and slide it off to the side, having made incremental progress at best. I allowed contemplating some of the finer details to intimidate me until finally pushing through those challenges and finishing assembly last month. Here it is now, just needing a coupler, the trucks mounted and a little touch up paint.

It built into a fine looking model, although there are some fiddly bits, particularly the tank band ends, and the hand rail around the tank. These finally submitted to gel CA to help tack them in place.
While finishing the model was done at county road crew pace, I did take the opportunity to replace a few detail parts with wire and etched metal replacements for durability, and practiced my wire bending skills.
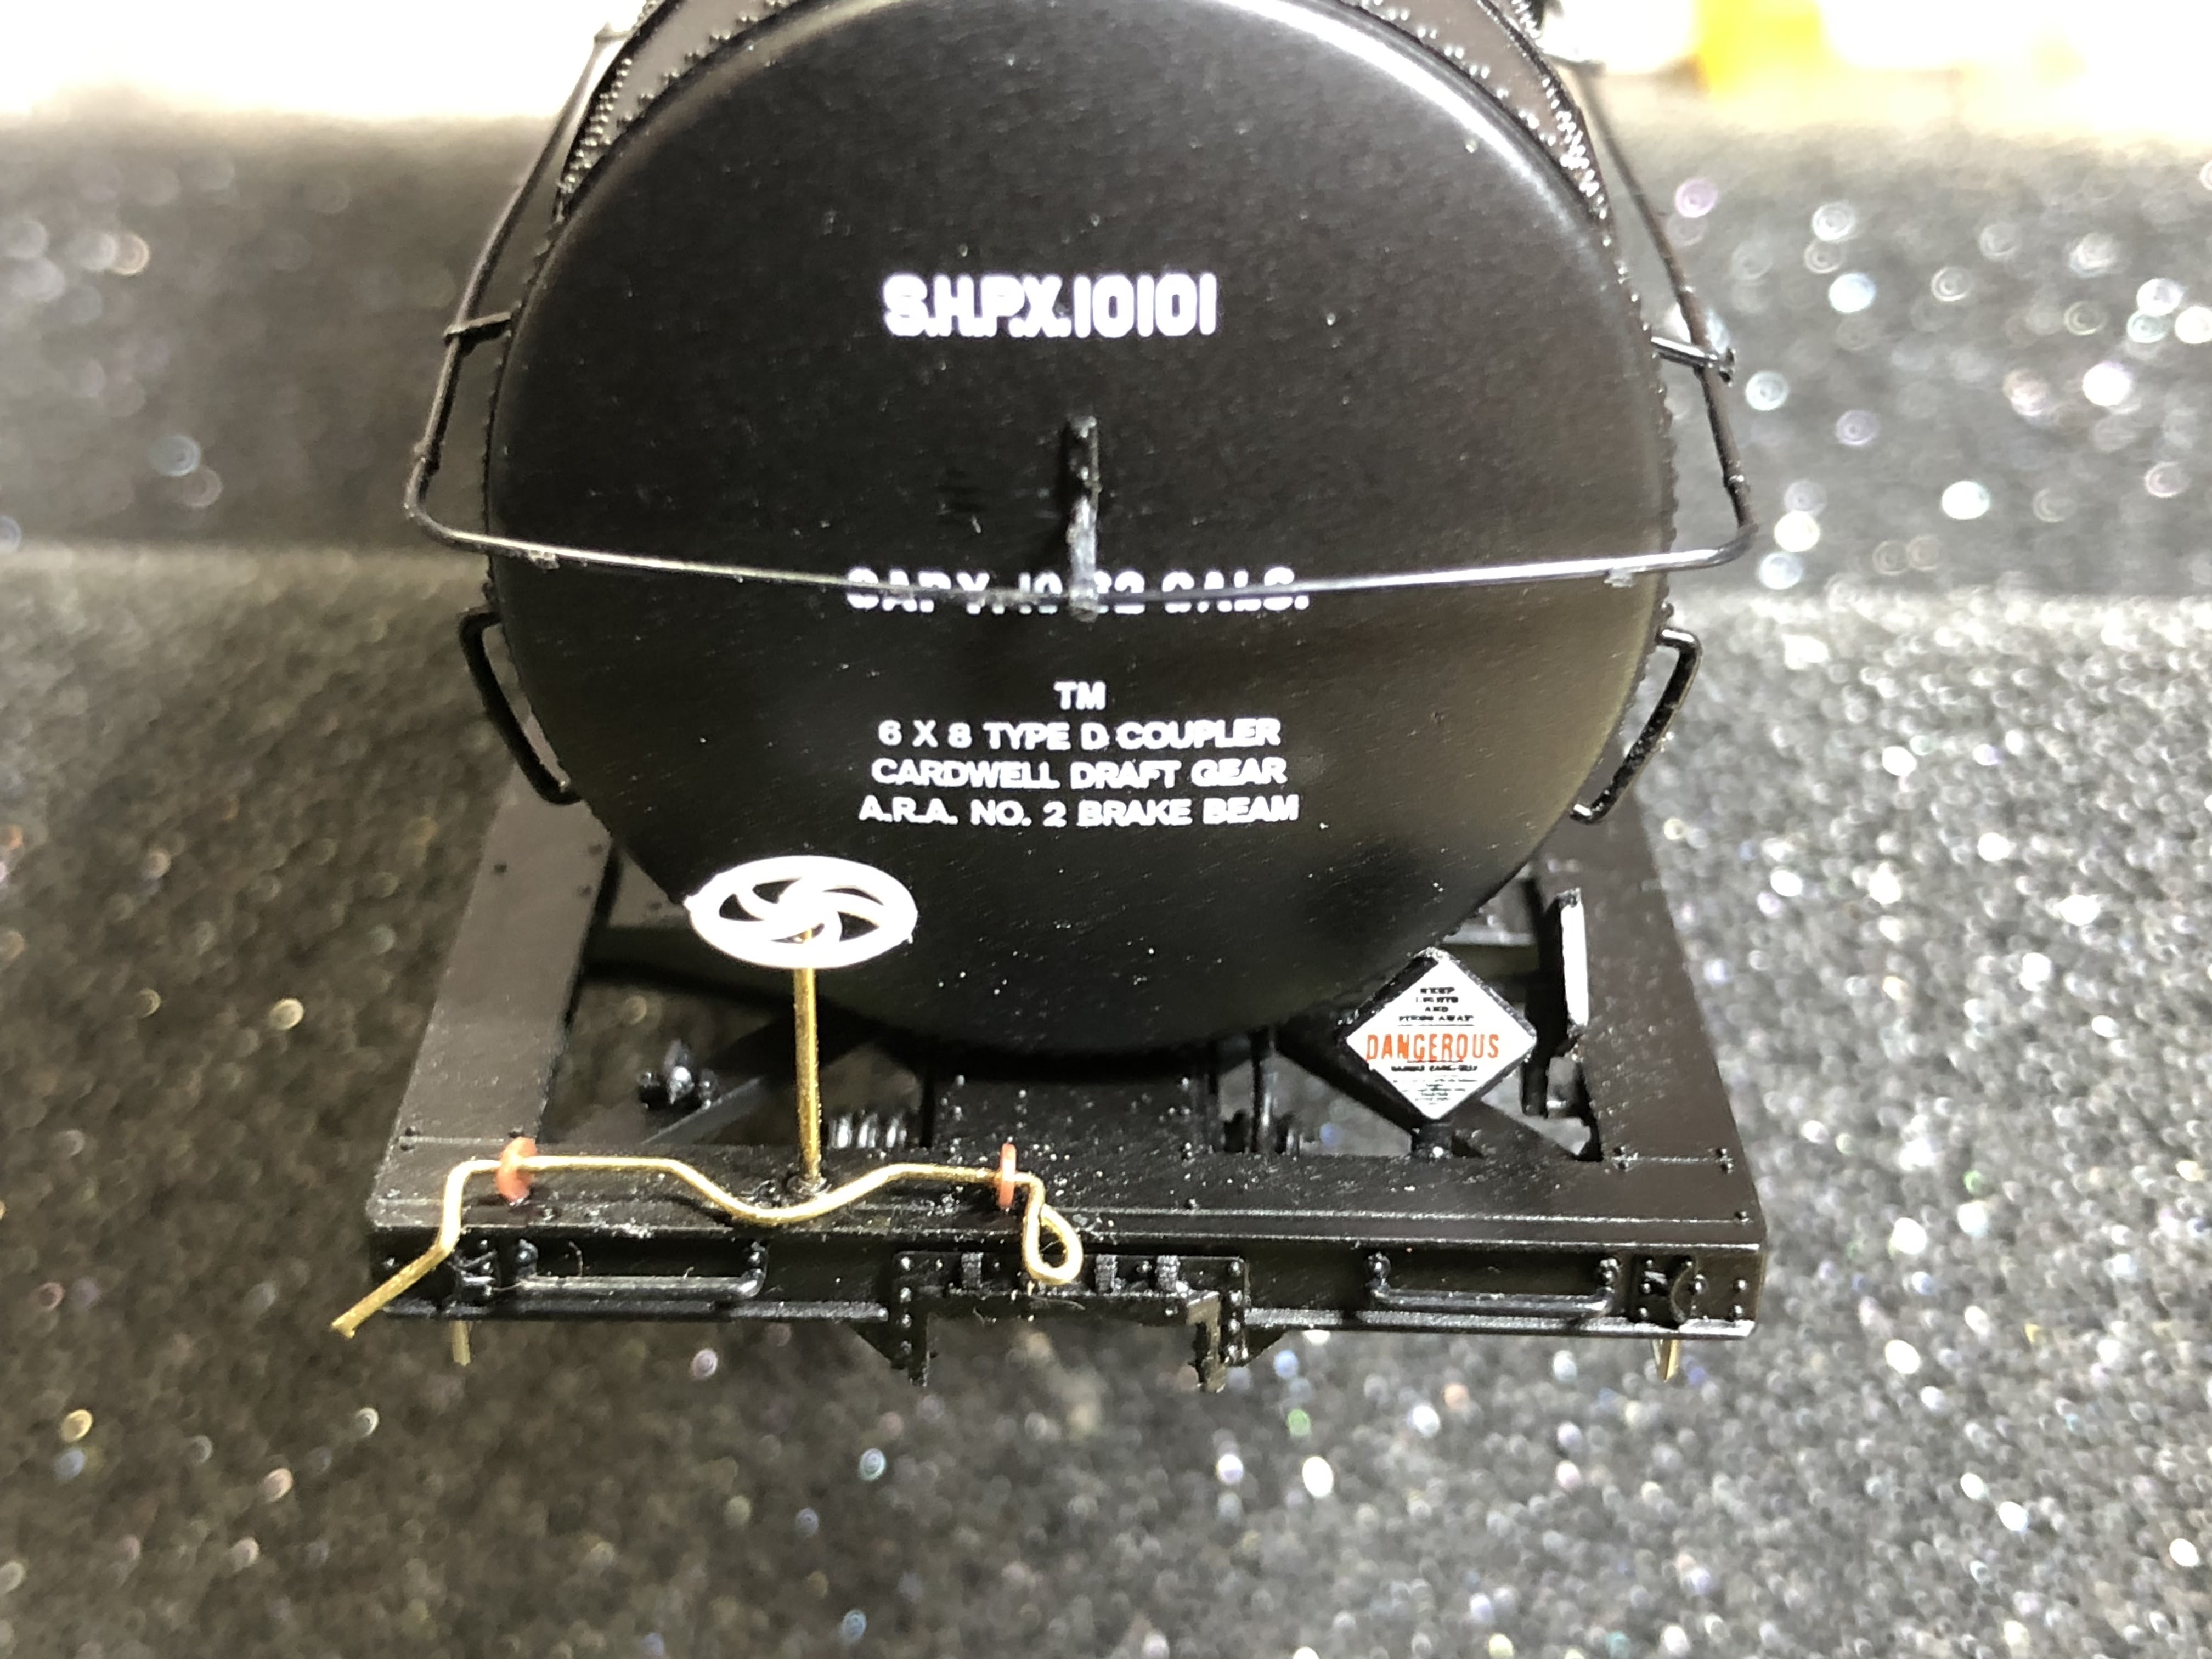
Last month I shared a wordless photo of the brake wheel end of this tank car after completing what was supposed to be the last detail. Did you spot my mistake?
Unfortunately, in my excitement about finishing, I glued the brake staff and wheel in place with the coupler lift bar flipped back. Due to the design of the lift bar with a curve to fit around the brake staff, it was trapped out of place 🤬. Stepping away from the workbench, and handy implements of destruction, I calmed down and thought through how best to fix my goof. Remove the brake staff or the lift bar attachments? I decided to remove the lift bar by cutting off the Tichy styrene eye bolts. This then required drilling out the pin of the eyebolt left behind in the end frame so I could replace them. I had wanted to try the Tichy eye bolts I had on hand and they do look nice. It was also probably easier to replace those than it would have been to remove wire ones. Here is the final result.


No comments:
Post a Comment